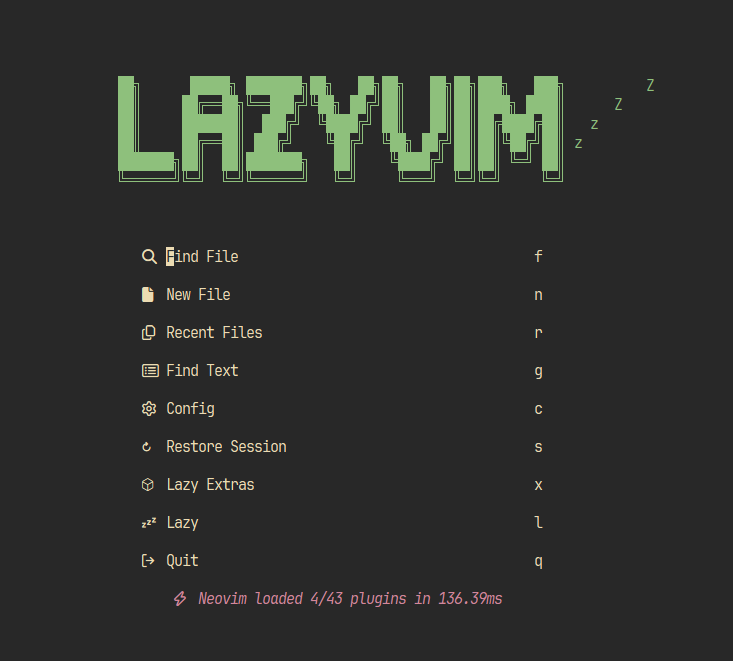
LazyVim Setup Notes

General notes
Don’t use PowerShell
Don’t use PowerShell to run the setup commands. Instead, get a terminal emulator like Alacritty and Kitty.
- The Nerd Fonts won’t work if you use PowerShell.
- I chose Alacritty as my emulator.
Nerd Fonts and themes
A terminal emulator supports a custom font that can display all the nifty neovim icons.
- JetBrainsMono Nerd Font — see the section below on nerd font and theme setup.
- Nerd Fonts are set up in Alacritty config (not neovim config).
- Alacritty config file must be named
alacritty.tomland, on Windows, must be placed here:~/AppData/Roaming/alacritty/.
Compiler errors
Don’t worry about the errors regarding C compilers, fd, ripgrep, etc. These are easy to resolve if you set up choco or scoop.
Configuring lazyit
lazygit can also be installed using choco/scoop. However, a config file is also required.
- Create a new directory in your
~/AppData/Local/nvimfolder calledlazygit. Then, create a new file calledconfig.yml. - Copy the lengthy config example, provided on Jesse Duffield’s GitHub . Paste it into your config file and modify as needed.
Additional details
Choco packages
If you have chocolatey installed and set up on Windows, you can run choco install [packagename] commands to get the following:
ripgrepfdlazygit
lazygit note
After installing via Chocolatey, paste the following snippet into your
~/AppData/Local/nvim/init.luafile:
return {
  "kdheepak/lazygit.nvim",
  cmd = {
    "LazyGit",
    "LazyGitConfig",
    "LazyGitCurrentFile",
    "LazyGitFilter",
    "LazyGitFilterCurrentFile",
  },
  -- optional for floating window border decoration
  dependencies = {
    "nvim-lua/plenary.nvim",
  },
  -- setting the keybinding for LazyGit with 'keys' is recommended in
  -- order to load the plugin when the command is run for the first time
  keys = {
    { "<leader>lg", "<cmd>LazyGit<cr>", desc = "LazyGit" }
  }
}
Theme and Nerd Font setup
- Fonts are stored here on Windows:
C:\Windows\Fonts - Download the zipped
.ttffiles from the NerdFonts download page. - To enable the font in Alacritty, create your
alacritty.tomlconfig file as described above. Then, insert the following code snippet:
[font.normal]
family = "JetBrainsMono Nerd Font"
Installing a C compiler
If you want to use the GNU C Compiler (gcc), follow the excellent GCC setup instructions from the C++ documentation
.
- Note: This requires installation of MSYS2.
- Once MSYS2 is iinstalled, there are some configuration steps which will automatically set up the compiler.